Scan Groups in Invicti Enterprise
Scan groups in Invicti Enterprise help you filter scan results in the Website Summary Dashboard and Trend Matrix Report window. You can also create a notification based on a scan group.
You can distinguish among the result of scans with different preferences although these scans are related to the same host/domain name. So, you can view relevant dashboards, issue trends, etc. based on the scan group you selected.
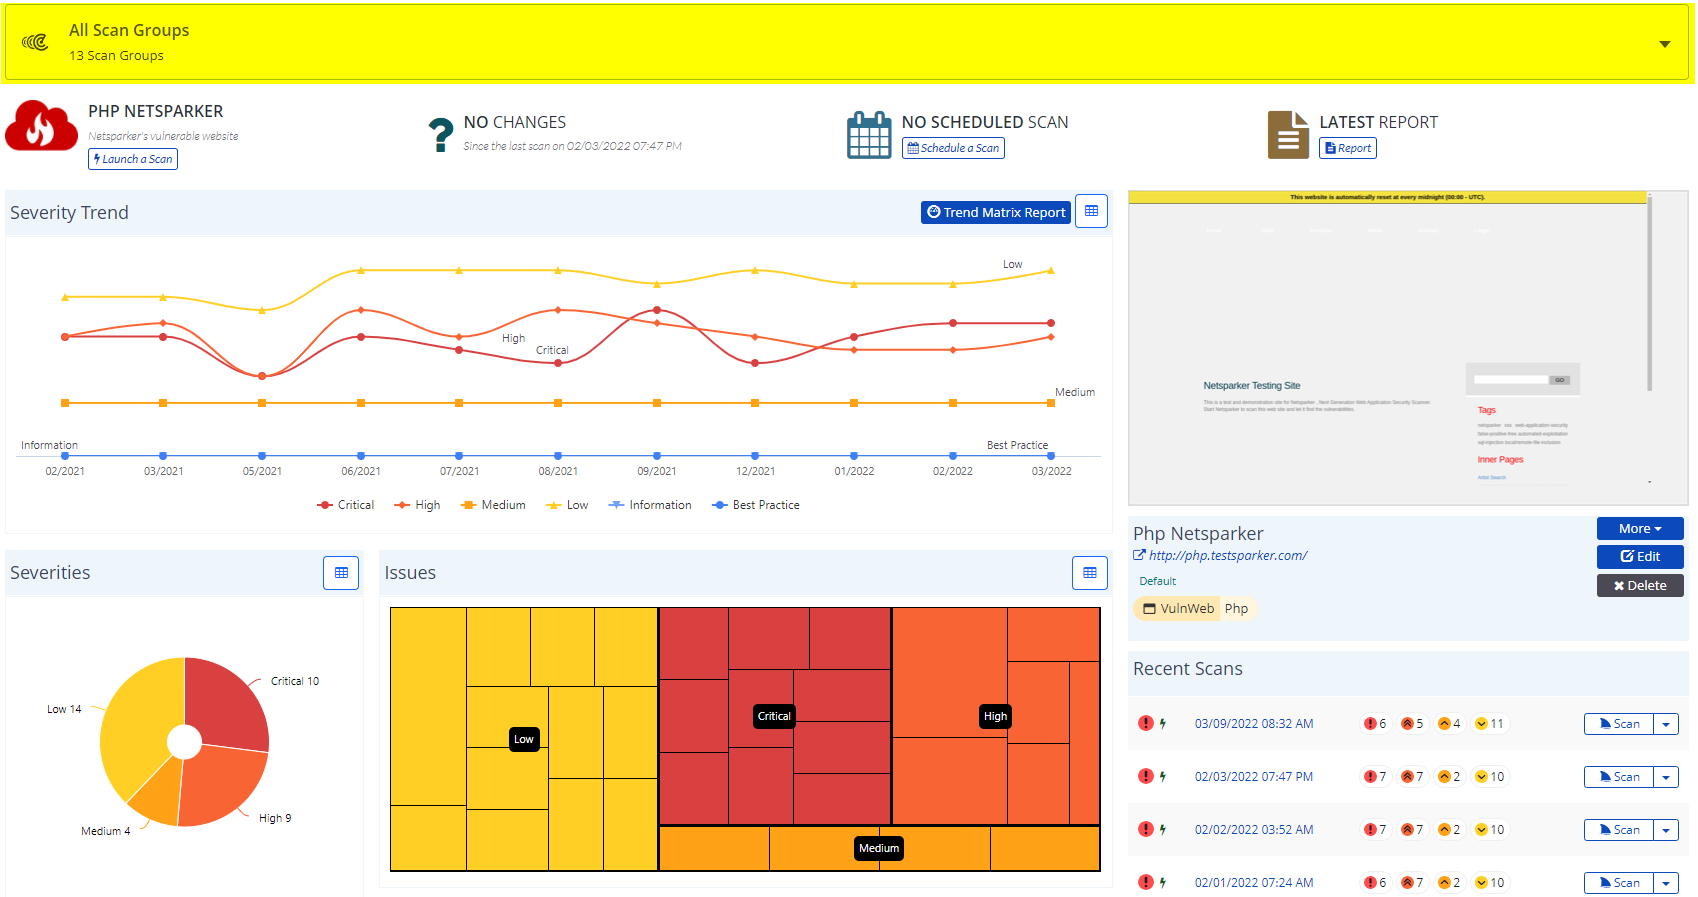
This scan group is visible on the Website Summary Dashboard and the Trend Matrix Report.
A scan group is created automatically upon a scan you launched. A scan group is not editable or deletable.
How Invicti creates a scan group
When you start a scan in the New Scan page, you enter a target URL, choose a scan scope, and select a scan and report policy. You can also select a scan profile, if any. So, these five criteria play a fundamental role for a scan group: Path, Scope, Scan Policy, Report Policy, and Scan Profile.
Each criterion is explained as the following:
- Path: This is the target URL that you entered into the Target URL field in the New Scan window. For further information, see Adding a Website in Invicti Enterprise.
- Scope: The Scan Scope lets you define which parts of the target web application should be crawled. The scan scope you choose plays a critical role in specifying the depth of the crawler. A limited scope results in fewer vulnerabilities. For further information, see Scan Scope.
- Scan Policy: The Scan Policy lets you select which checks you want Invicti to run against your web application. For further information, see Overview of Scan Policies.
- Report Policy: The Report Policy includes profiles for vulnerabilities/issues. These profiles have an issue’s severity, title, description, etc. You can define how Invicti displays its findings in the Invicti application and reports. For further information, see Custom Report Policies.
- Scan Profile: The Scan Profile lets you save scan settings for future scans. For further information, see Overview of Scan Profiles.
All these variables play a critical role in the issues and reports you view in Invicti. Let’s imagine that you scanned https://www.example.com/blog and https://www.example.com/admin.
- These websites have different structures. While the blog page includes a list of blog posts you published, an admin web page is password-protected.
- Their scan scopes differ.
- They may have different scan policies. You may choose to go with the default scan policy against the blog web page. Meanwhile, you may wish to scan the password-protected admin web page with the Default Security Checks + DOM XSS or with your custom scan policy, which would eventually affect the vulnerabilities found.
- Their report policies may differ as well. If you have applied a custom vulnerability check, for example, you were supposed to select a custom report policy as well. So, their reports have a different report policy. As different reports may have different severity set for a certain vulnerability, you end up with different vulnerability reports.
So, Invicti will show different vulnerabilities, issues, and severity trends for these web pages. If you scan your web application more than once, the trend matrix report of respective web pages will also greatly differ in time.
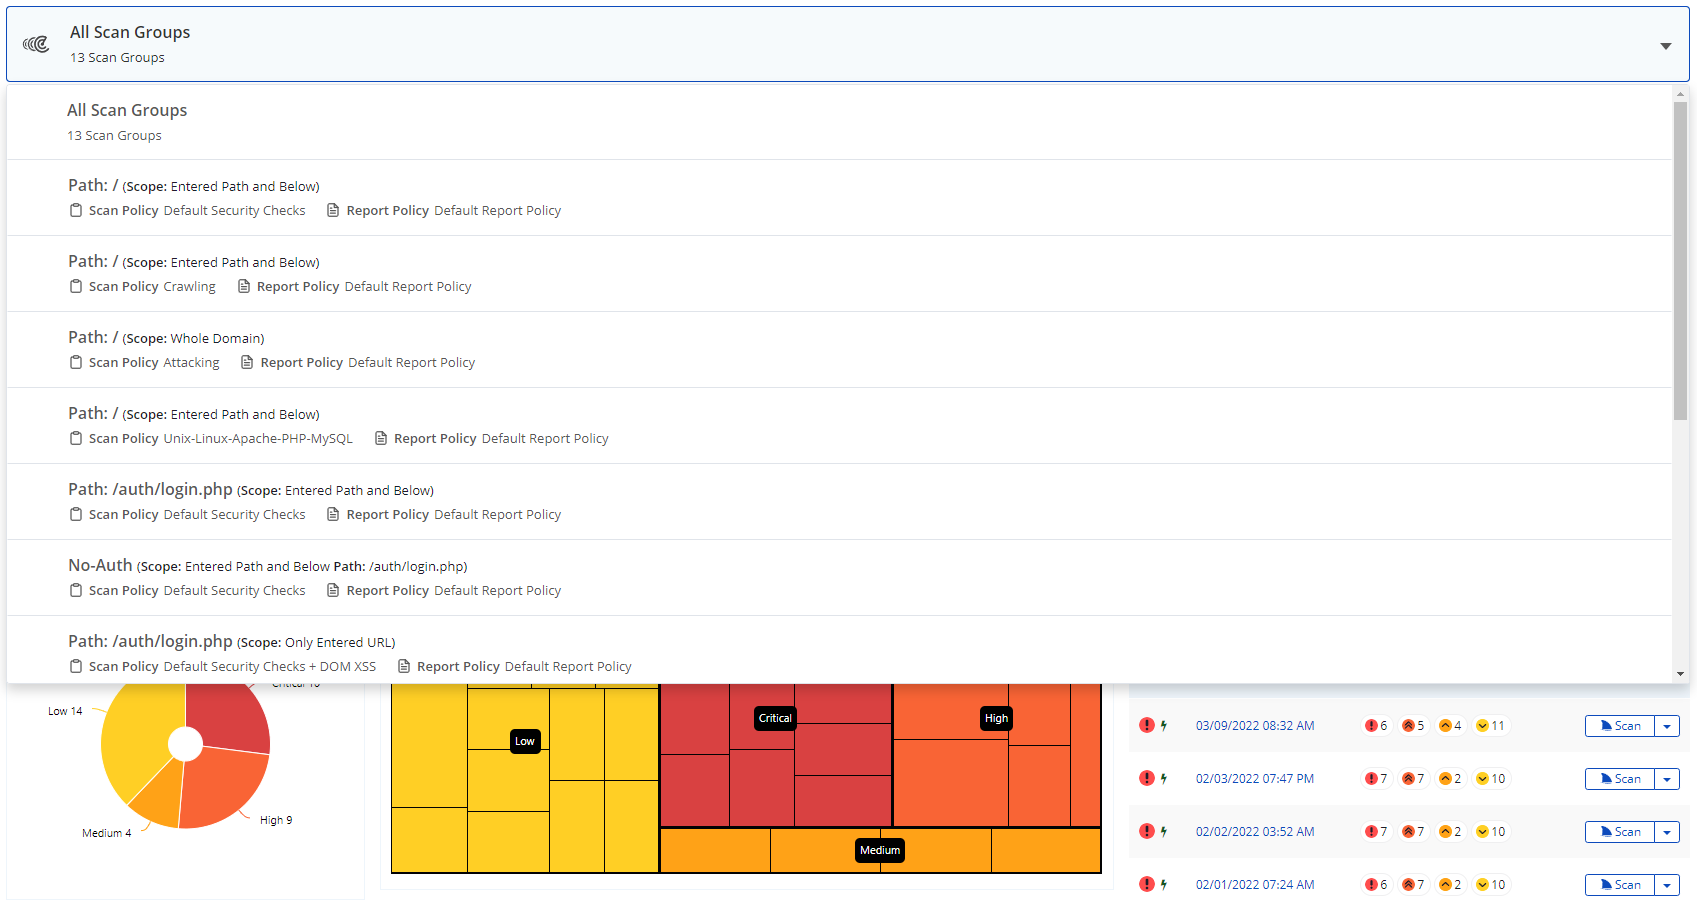
To illustrate further, we scanned one of our vulnerable test websites – http://php.testsparker.com/auth/login.php with two different scan preferences. So, you can see how different results you can have with different scan preferences:
 |
 |
If you try to analyze these issues inside a single group, you would end up with a misleading dashboard or trend matrix report. For instance, it may display that an SQL Injection found on the first scan is fixed on the second scan since the scan does not contain the SQL Injection vulnerability because of the difference in the scan policy.
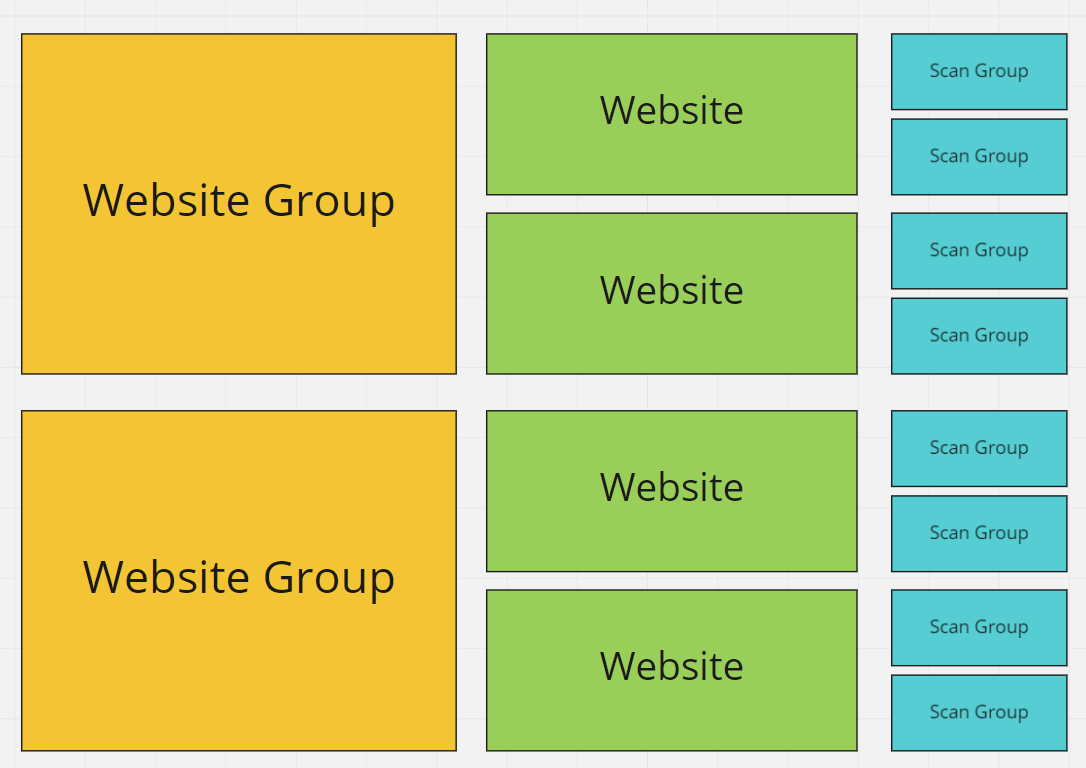
The difference with Website Group
Scan Group and Website Group are very different categories. While Invicti automatically creates a scan group based on your scans, Invicti does not take action by itself to create a website group. You can group certain websites into a single group for easy management for multiple websites. Also, you can start a web security scan for a website group.
The following chart displays the distinction between the scan group and the website group:
How to view a scan group in Invicti Enterprise
- Log in to Invicti
- From the main menu, select Websites > Websites.
- In the list of Websites, select a website.
- From the website summary dashboard, select the All Scan Groups drop-down.
You can also create a notification for a scan group you wish.
How to create a notification for a scan group in Invicti Enterprise
- Log in to Invicti
- Select Notifications > New Notification.
- In the Name field, enter the name of the new notification.
- In the Status field, select enable or disable.
- From the Event drop-down, select the relevant option.
- In the Group field, select enable or disable.
- From the Scope field, select Website.
- From the Website drop-down, select a website.
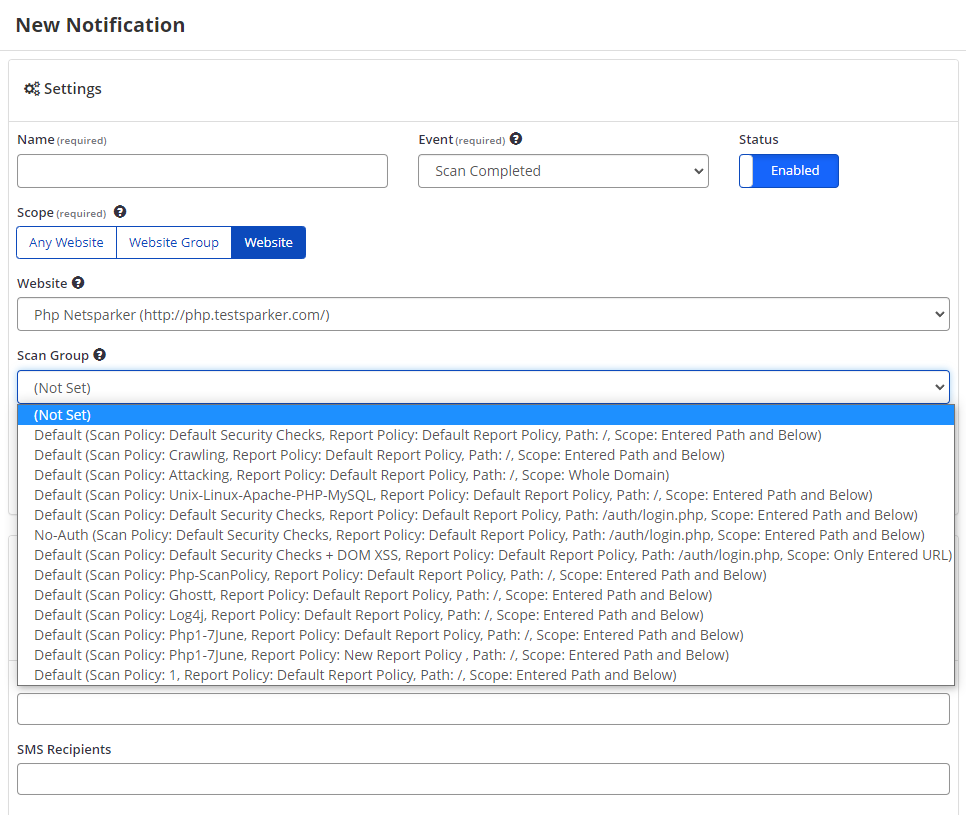
- From the Scan Group drop-down, select the relevant scan group.
- If the Not Set is selected, you receive all notifications about the website.
- Complete the remainder of the fields, as described in Managing Notifications.