SANS Top 25 Report
The SANS Top 25 Report in Invicti Standard lists the most dangerous software errors of the Common Weakness Enumeration (CWE) list that have been found in your web application.
- These errors can lead to severe consequences that allow attackers to steal data, completely take over applications, or prevent them from working completely by affecting the availability of the system. This list also serves as a reference point for developers, administrators, and educators.
- Invicti reports vulnerabilities classified in the SANS Top 25 list and provides detailed information on these vulnerabilities.
There can be other vulnerabilities and security issues found in your web applications but not listed in the SANS Top 25 Report.
Click to view a sample SANS Top 25 Report.
For further information, see Overview of Reports, Report Templates, and Built-In Reports.
SANS Top 25 Report Sections
There are five sections in the SANS Top 25 Report:
- Scan Details
- Vulnerabilities
- Vulnerability Summary
- Vulnerability Names and Details
- Show Scan Details
Each is explained below.
Scan Metadata
This section provides details on the following items:
- Scan Target
- Scan Time
- Scan Duration
- Total Requests
- Average Speed
- Tags
- Risk Level
For further information, see Progress, Scan Duration, and Speed.
Vulnerabilities
This provides a numerical and graphical overview of:
- Numbers The numbers of issues detected at various Vulnerability Severity Levels
- Identified Vulnerabilities The total number of detected vulnerabilities
- Confirmed Vulnerabilities The total number of vulnerabilities that Invicti verified by taking extra steps such as extracting some data from the target

Vulnerability Summary
This section provides a summary of information about each discovered vulnerability in the scan and categorizes them based on severity. For example, if Invicti determines a vulnerability as Critical, it requires immediate attention.
If you click on an identified vulnerability, you can access detailed information, such as HTTP request and response codes and body, about the vulnerability and, if any, Proof of Exploit. If Invicti finds a vulnerability but has no proof of exploit, Invicti presents a certainty degree about this issue.

This table lists and explains the columns in the Vulnerability Summary.
|
Column |
Description |
|
CONFIRM |
This shows whether Invicti has verified a vulnerability. |
|
VULNERABILITY |
This displays the name of the issue and provides a link to a detected issue that attackers can exploit. |
|
METHOD |
This is the HTTP method of the request in which Invicti sent the payload. It demonstrates what Invicti deployed in order to identify an issue. |
|
URL |
This is a reference to a resource that contains the issue. |
|
PARAMETER |
This is the variable used to identify the issue.
|
For further information, see Vulnerability Severity Levels.
Vulnerability Names and Details
This section describes all identified issues and vulnerabilities that are found in the SANS Top 25 list. It also explains what Actions to Take and a Remedy for each one. Further, it shows, if any, a Proof of Exploit of the vulnerability and External References for further information.
 This table lists and explains the headings in the Vulnerability Names and Details section.
|
Headings |
Description |
|
Name |
This is the name of the identified issue. |
|
Tag |
This is the label to group, organize, and filter issues in the target web application. |
|
Proof of Exploit |
This is a piece of evidence supplied to prove that the vulnerability exists, showing information that is extracted from the target using the vulnerability.  For further information, see Benefits of Proof-Based Scanning™ Technology. |
|
Vulnerability Details |
This displays further details about the vulnerability. |
|
Certainty Value |
This indicates how much Invicti is sure about the identified issue. |
|
Impact |
This shows the effect of the issue or vulnerability on the Target URL. |
|
Required Skills for Successful Exploitation |
This gives details on how malicious hackers could exploit this issue. |
|
Actions to Take |
These are the immediate steps you can take to decrease the impact or prevent exploitation.  |
|
Remedy |
This offers further steps to resolve the identified issue. |
|
External references |
This provides links to other websites where you can find more information. |
|
Classification |
SANS Top 25: This provides further information on which of Top 25 Software Errors compiled by SANS have been detected. |
|
Remedy References |
This provides further information on the solution for identified issues. |
|
Proof of Concept Notes |
These notes demonstrate in principle how a system may be compromised.  |
|
Request |
This is the whole HTTP request that Invicti sent in order to detect the issue. |
|
Response |
This is the reply from the system against the payload. |
Show/Hide Scan Details
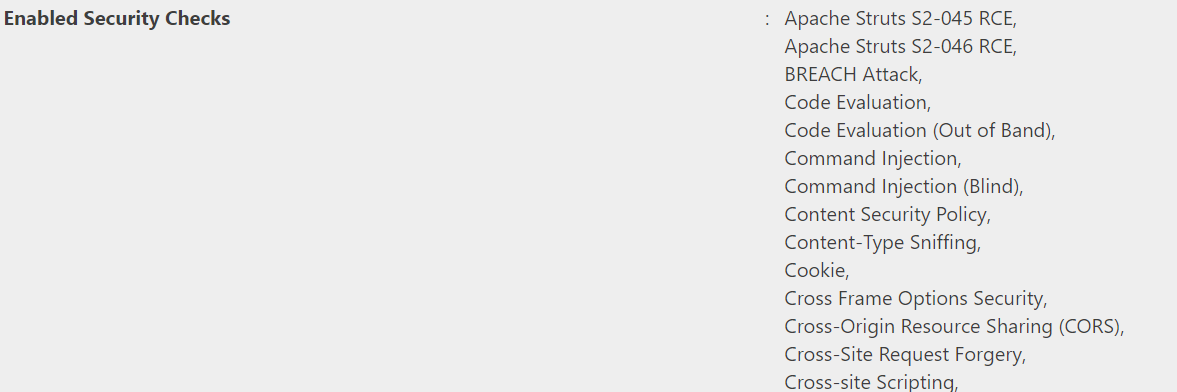
This section provides some profile and policy settings that Invicti uses to adjust its scanning to achieve a better scan coverage. For example, it lists all enabled security checks.
It provides information on your preference to have this scan so that developers have more details on how the scan was run.
How to generate a SANS Top 25 Report in Invicti Enterprise
- Log in to Invicti Enterprise.
- From the main menu, select Scans > Recent Scans.
- Next to the relevant scan, select Report.
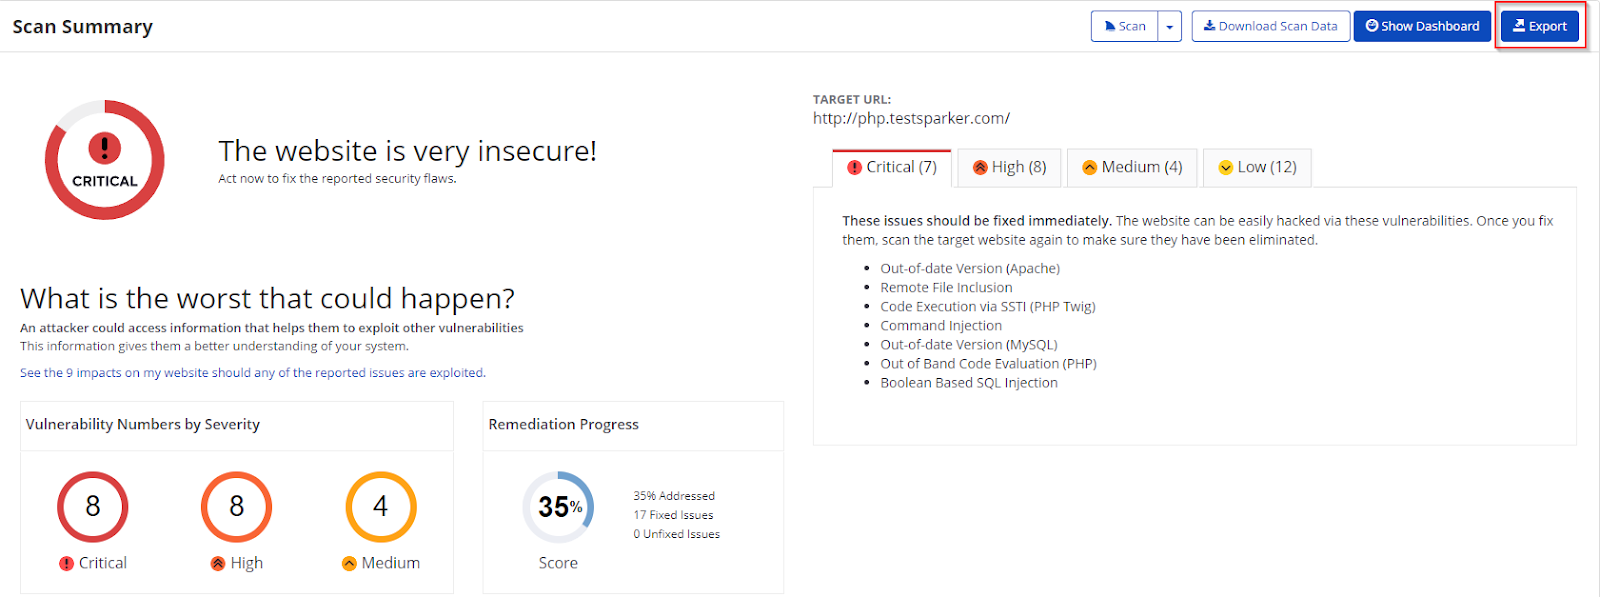
- On the Scan Summary page, select Export.
- From the Report drop-down, select SANS Top 25.

- From the Format drop-down, select an option.
- If required, select one of the following to configure your report:
- Exclude Addressed Issues excludes those issues on which you’ve already taken action. (All Information level findings are marked as Accepted Risk automatically by default. To change this behavior, see Do not mark Information issues as accepted risks in General Settings).
- Exclude History of Issues excludes the issue history from the report. If unselected, only the last 10 history items appear in the report. For further information, see Viewing Issues in Invicti Enterprise.
- Export Confirmed includes only those issues that are confirmed.
- Export Unconfirmed includes only those issues that are unconfirmed.
- Select Export.
You can view the report in the saved location.
How to generate a SANS Top 25 Report in Invicti Standard
- Open Invicti Standard.
- From the ribbon, select the File tab. Local Scans are displayed. Double-click the relevant scan to display its results.
- From the Reporting tab, click SANS Top 25 Report. The Save Report As dialog box is displayed.

- Select a save location, then Save.
- The Export Report dialog is also displayed at this point, with the Path field already populated from the previous dialog.

6. From the Export Report dialog, you can decide on:
- Policy: Select the default report policy or customized report policy (see Custom Report Policies).
- Format: Select HTML and/or PDF format.
- Vulnerability Options (select one or all): Export Confirmed: When selected, the report will include confirmed vulnerabilities.
- Export Confirmed: When selected, the report will also include confirmed vulnerabilities
- Export Unconfirmed: When selected, the report will also include unconfirmed vulnerabilities.
- Export All Variations: Variations mean that if Invicti identified some passive or Information level issues in more than one page, it does not show all these variations. However, users can change this by enabling or disabling this option.
- Header and Footer:
- Enter relevant information that will appear in the header and footer section of the report.
- Open Generated Report: When selected, your report(s) will be shown when you select Save.
7. Select Save.